Cleco storage ideas

Low&Slow

Ancora imparo
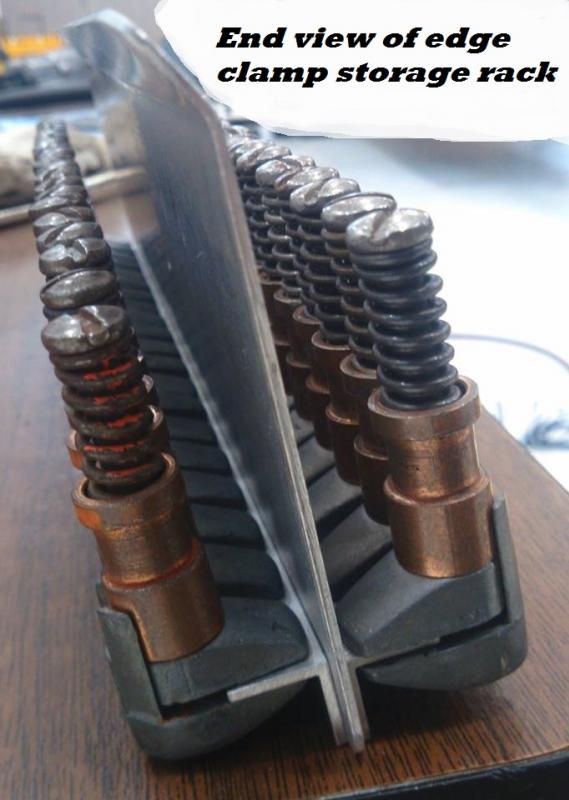
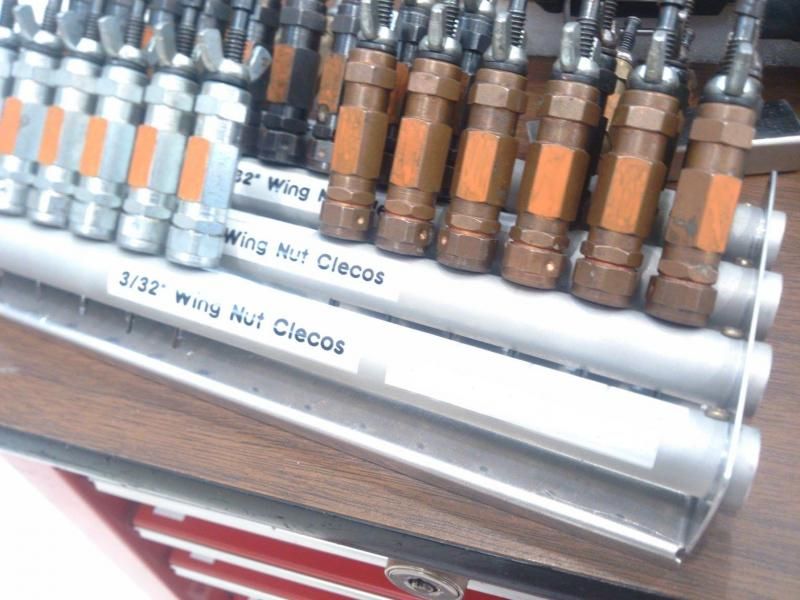
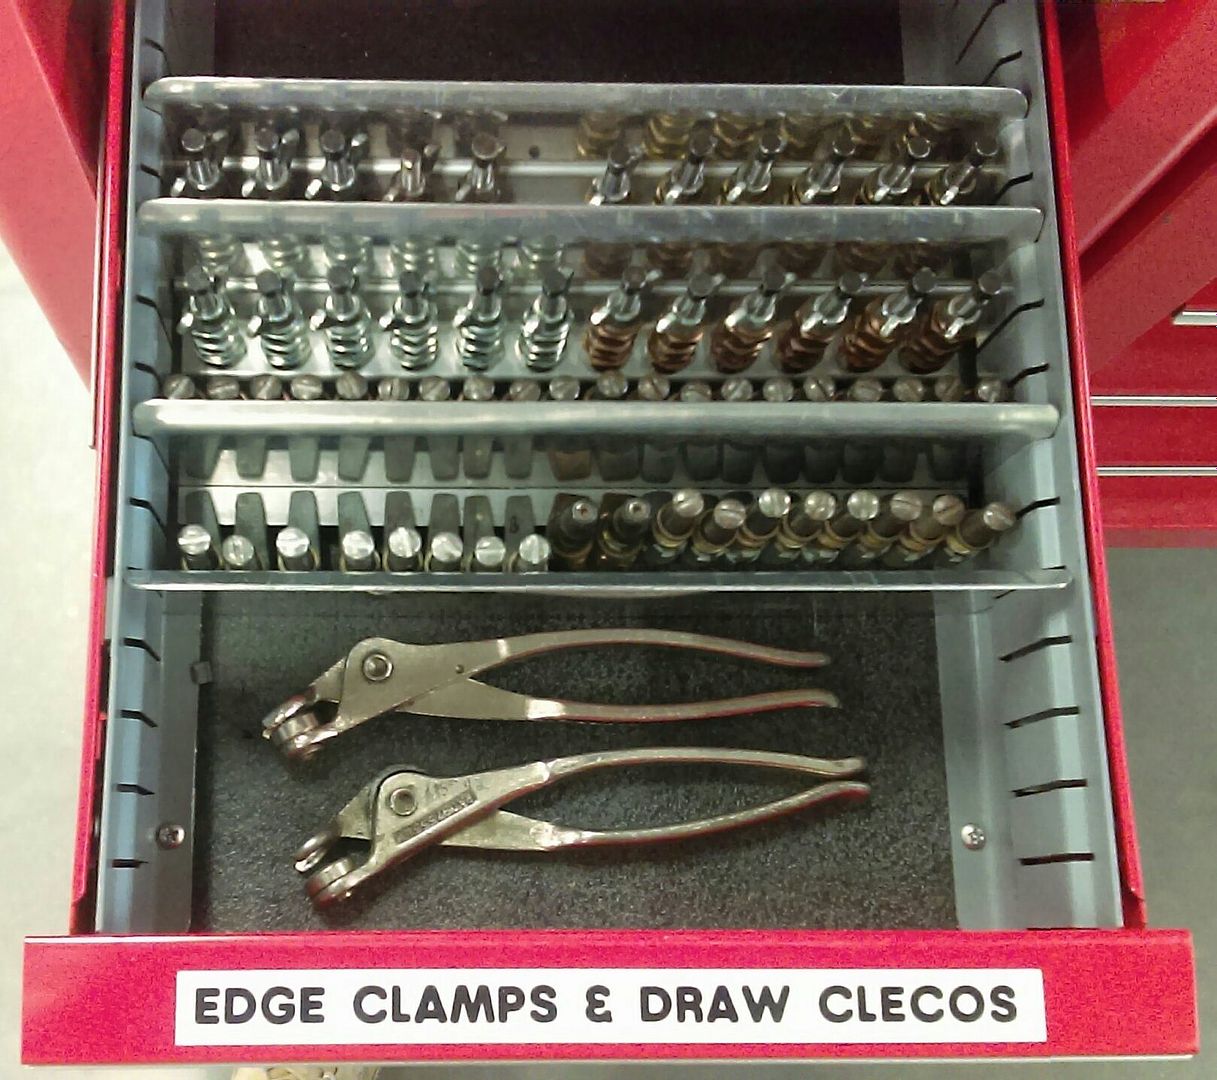
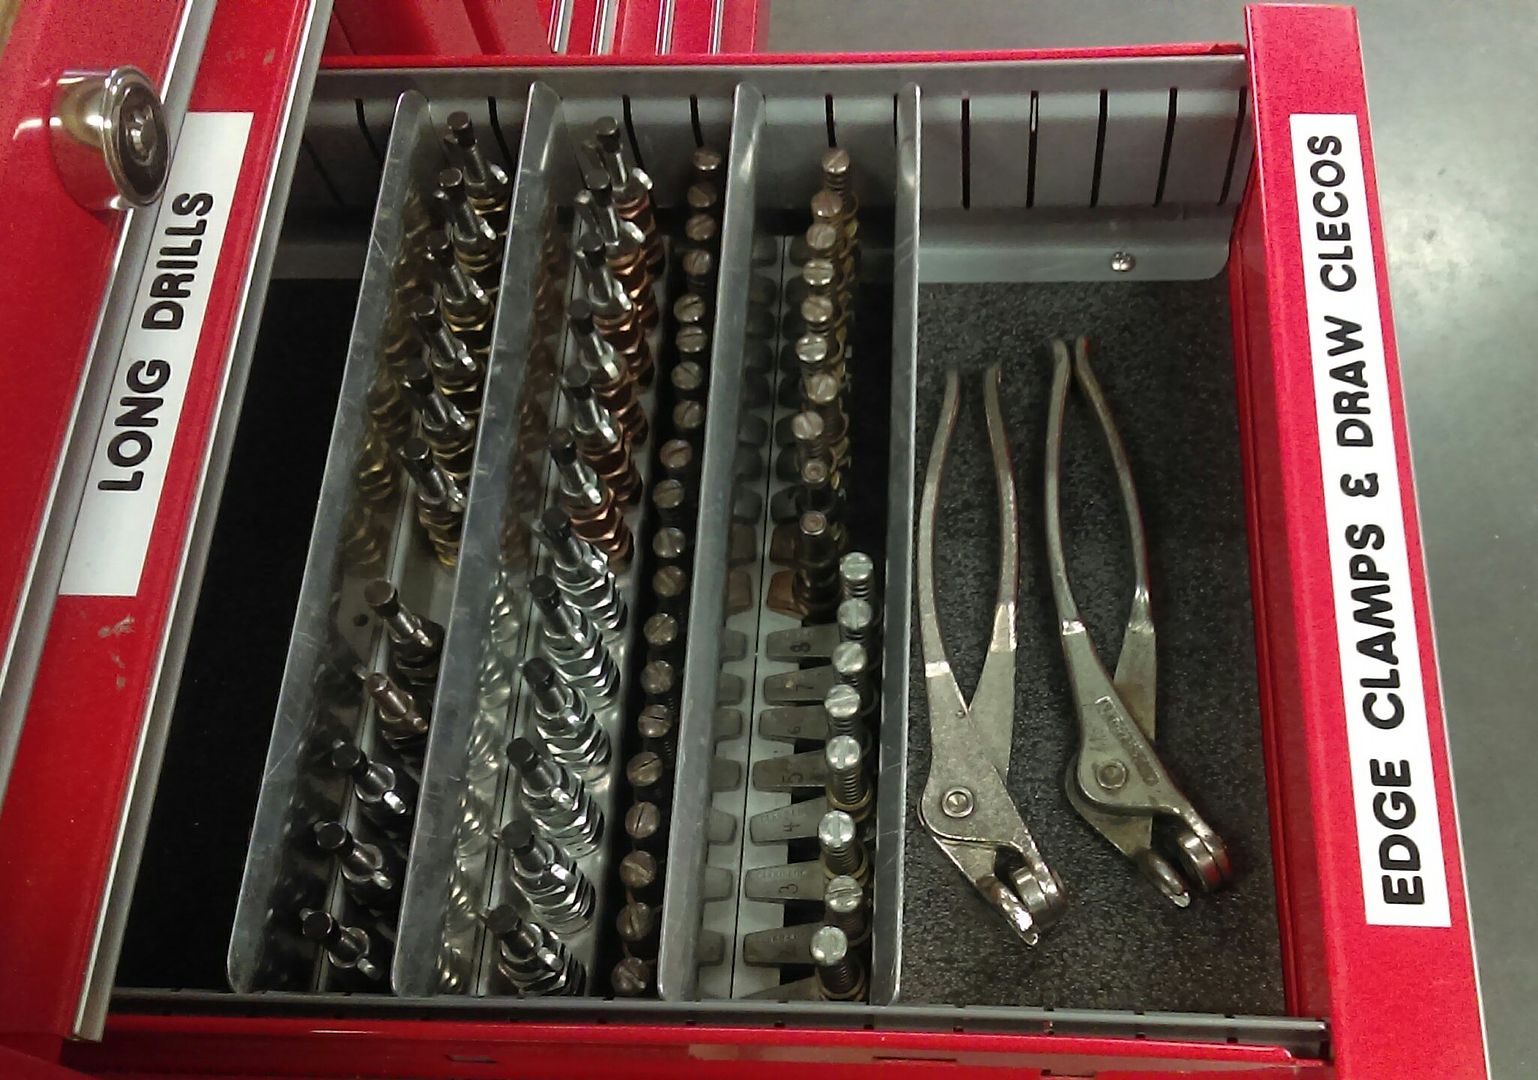
Here's a few pics of how I keep my Clecos organized and stored at work.
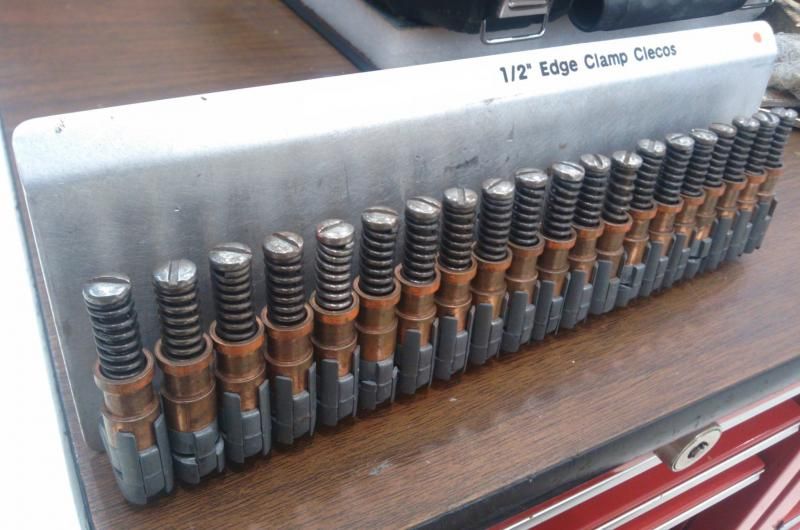
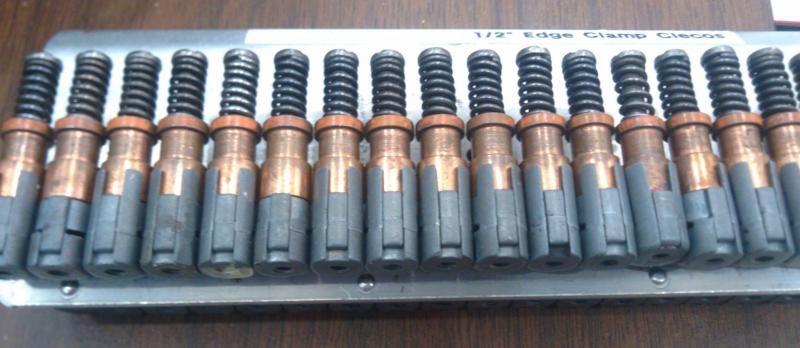
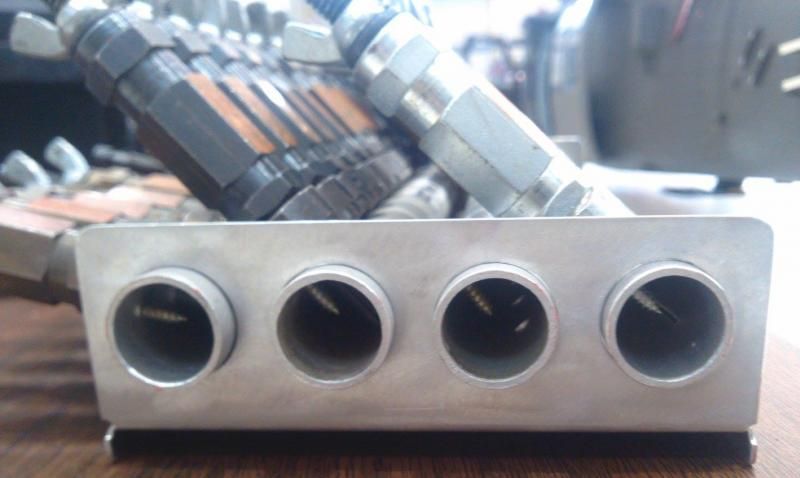
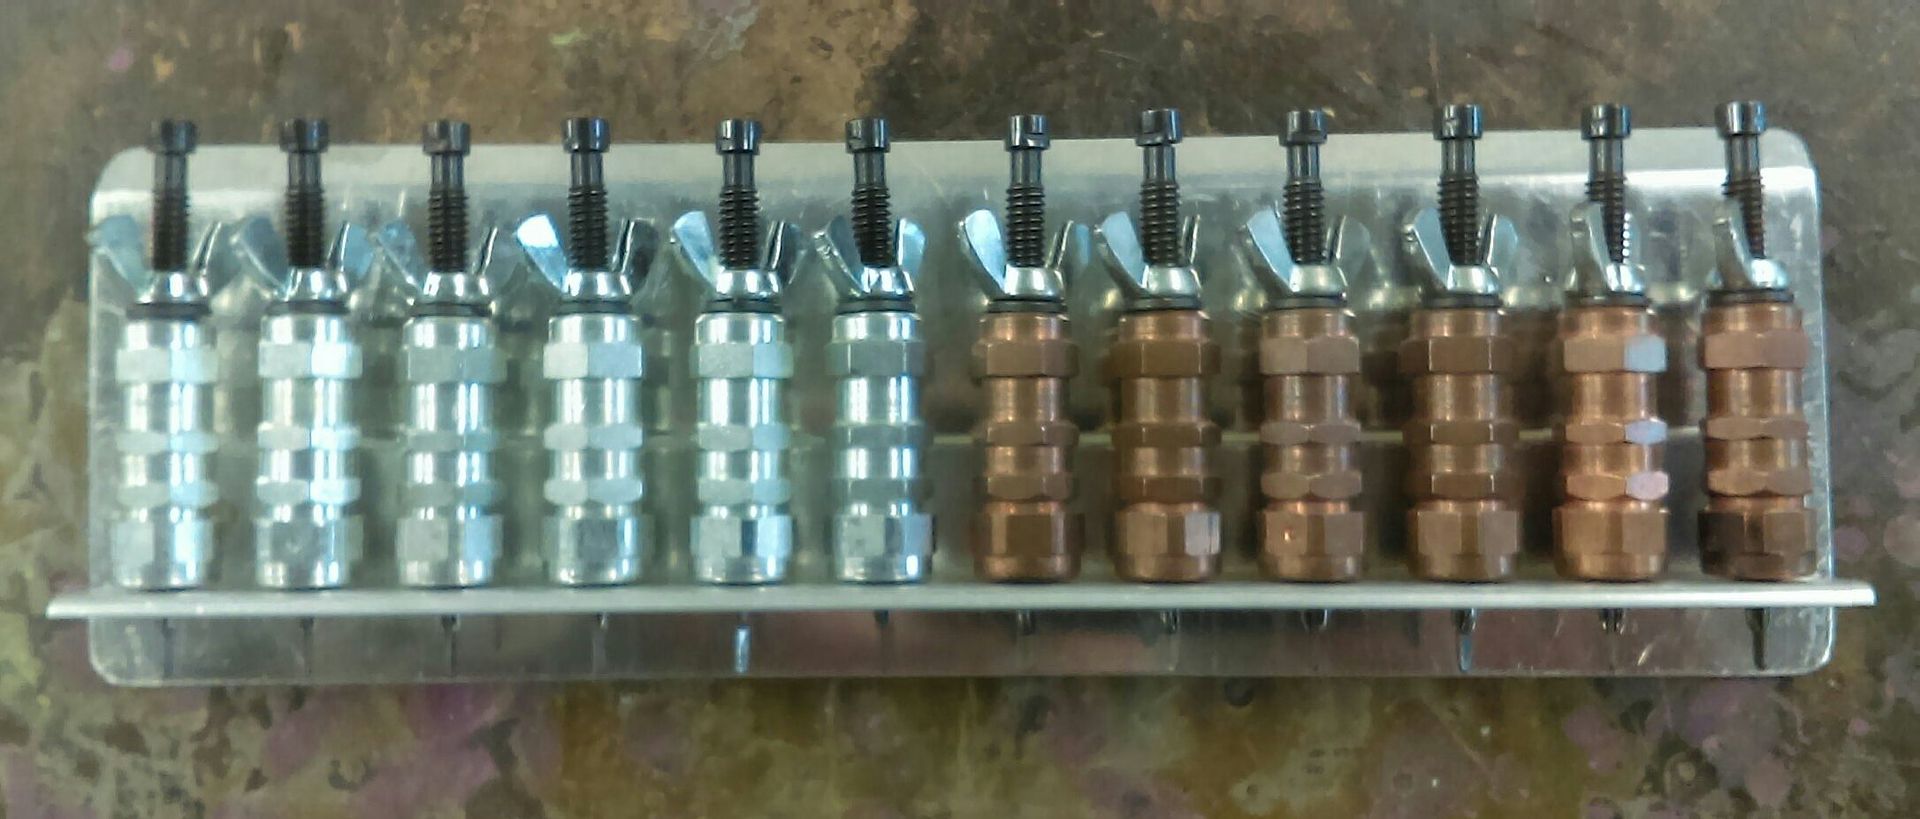
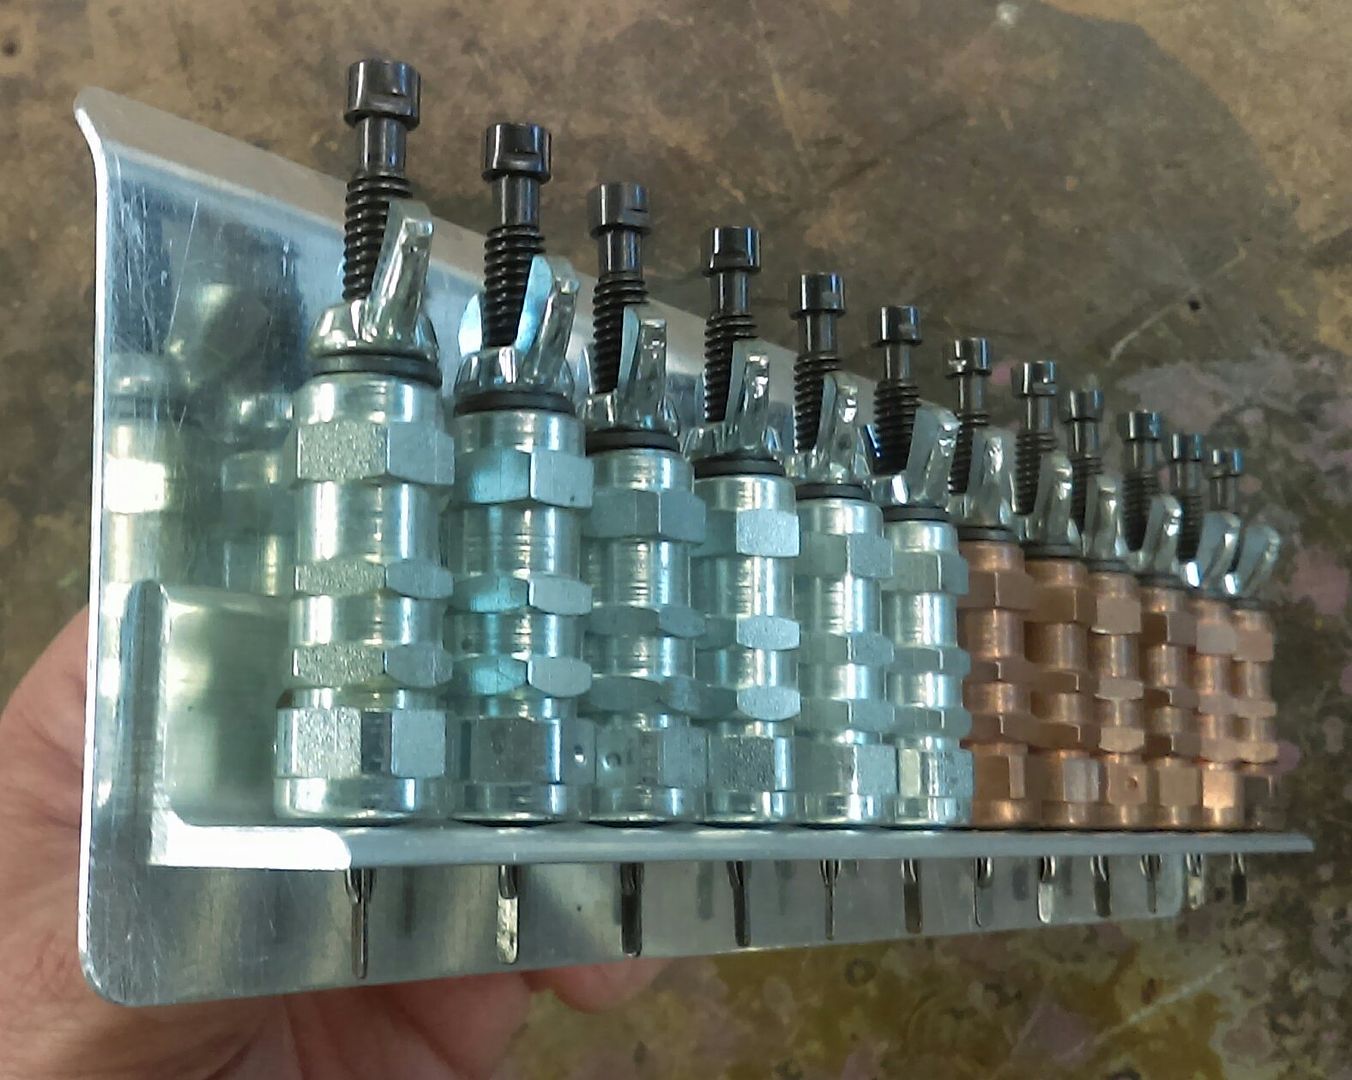
I used drawer dividers and drilled the appropriate sized holes, labeled them, loaded them with clecos and put them in the drawer. I can remove an entire divider and take it with me to where I am working. This arrangement is portable, convenient, saves space, keeps all my clecos together when I'm working and allows me to see instantly if I don't have all of my clecos accounted for after a job and how many are missing.
If you don't have drawer dividers, they're pretty simple to fabricate.
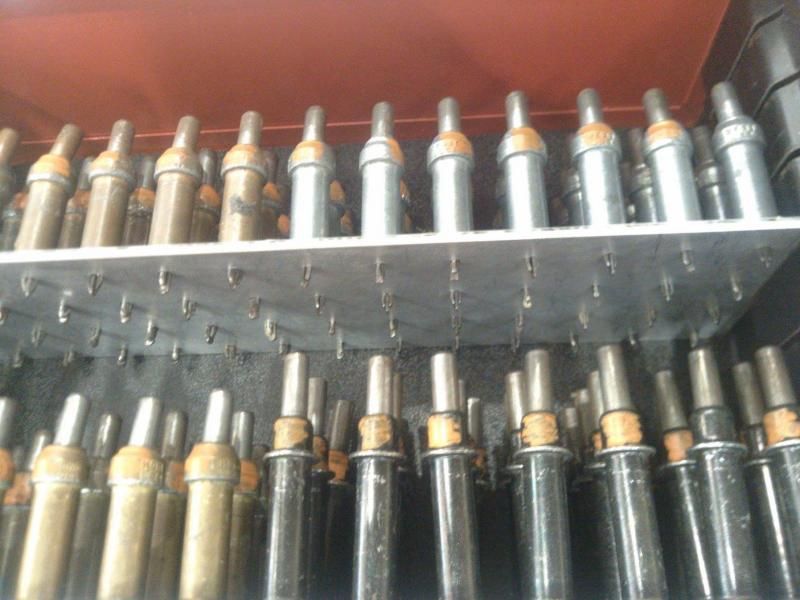
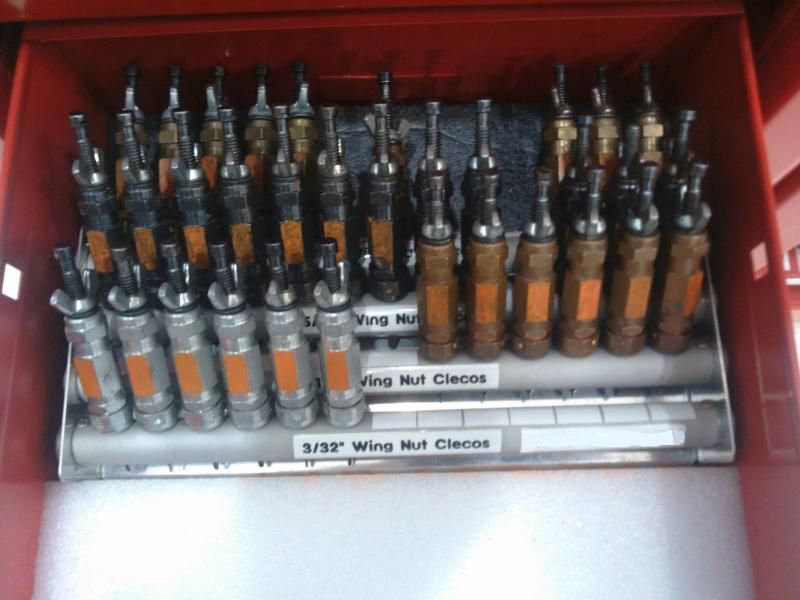
Standard Clecos:
StandardClecostorage_zps8a1ce3a7.jpg


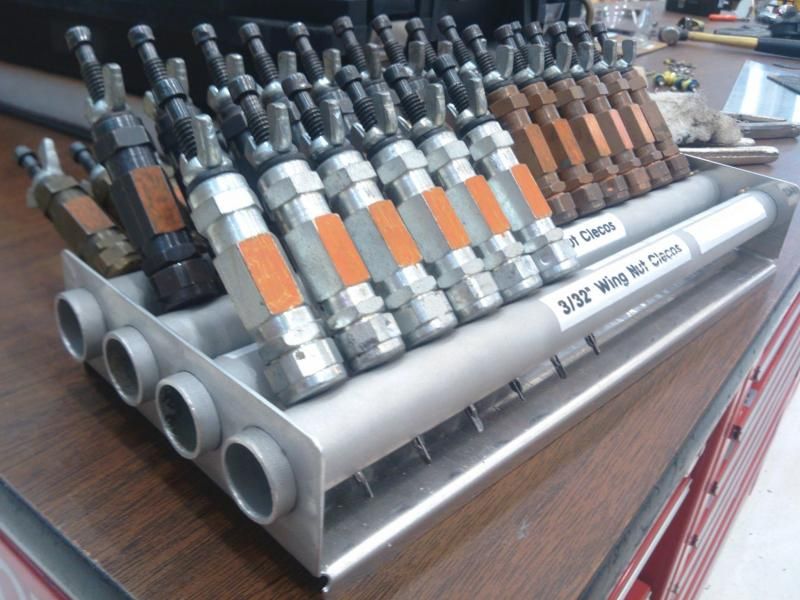
Backside/underside of a divider:
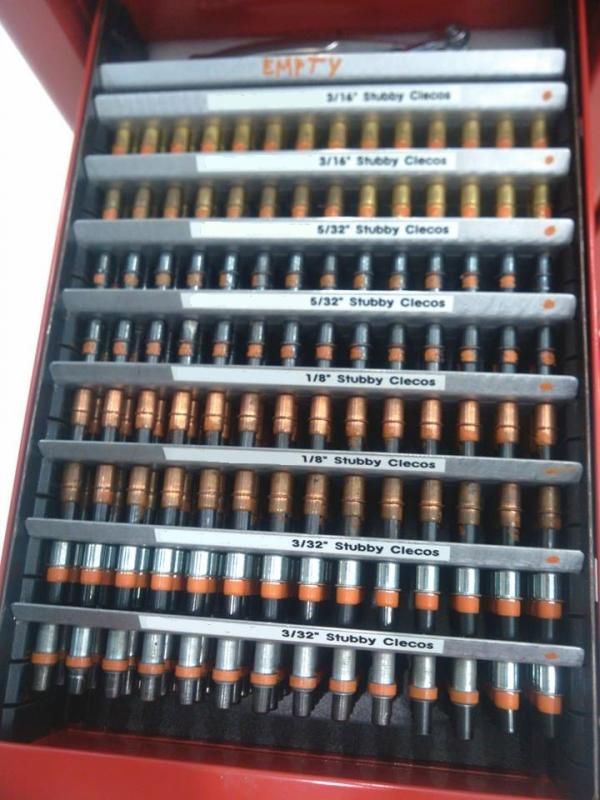
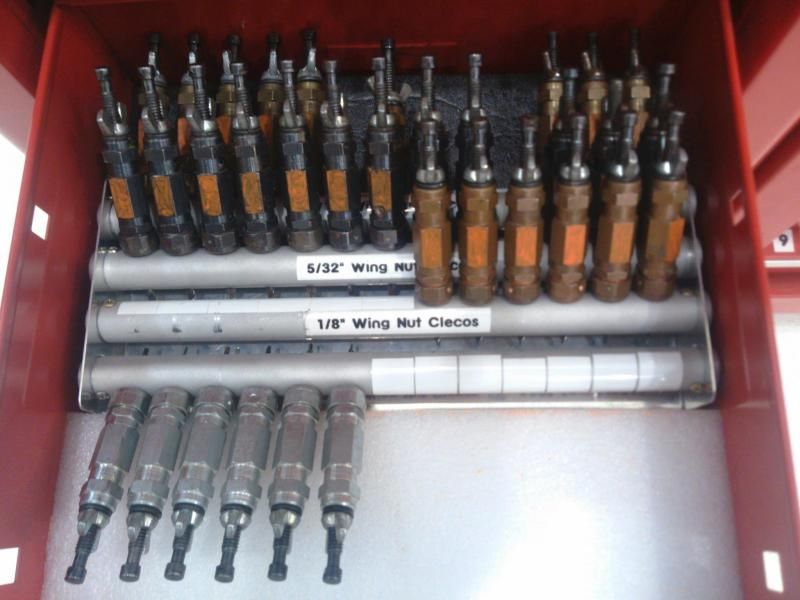
StandardClecostorage2_zps223a40e5.jpg


Stubby Clecos:
StubbyClecostorage_zpsa7d99fe1.jpg
 
For the edge clamp clecos, I took a couple of pieces of extruded angle aluminum and riveted them to the divider, one on each side, with the rivet going through both pieces of angle. I formed/bucked the shop head to a dome shape to look like the manufactured head so that it would look nice and clean, front and back.
This divider is kept in the back of my standard cleco drawer. You can see it in the drawer in the pics above.

edgeclampstorage_zps718ceb93.jpg


Here you can see the rivets holding the extruded angle aluminum to the divider:
edgeclampstorage2_zpsacf878da.jpg


edgeclampstorage3_zpsd3d9c2c0.jpg
 
The wing-nut/draw cleco storage rack is a little different and took a little bit more work to fabricate than the other cleco racks. It sits in the drawer when they aren't being used (easy storage) and the whole rack is portable, so it can easily be removed and taken to the aircraft to work without getting any of them lost.

DrawClecostorage_zps94afb3f2.jpg


If you make one, make sure you put the holes high enough above the floor of the base so the tips of the cleco prongs don't rub or bind on it when you rotate the tubes. You should also allow greater spacing between tubes as the clecos get bigger or the tips of the cleco prongs will rub and/or bind on the tubes next to them. I suppose you could space them all evenly, but use bigger spacing than what I have and you should be okay. Mine are evenly spaced, but not far enough apart for the bigger ones in the back, so they kinda bind up a little, but it's not too bad.

The tubes freely rotate so you can easily access any of the clecos:
DrawClecostorage2_zpsc7d987de.jpg


The base is basically a couple of flanges bent up on the sides with holes for an aluminum tube, and a couple of flanges bent down on the front and back:
DrawClecostorage3_zpscd9b72bd.jpg


I put some small screws at the ends of the tubes to keep them from sliding longitudinally and slipping out:
DrawClecostorage4_zps7835a557.jpg


Here's an end view of the wing-nut/draw cleco rack:
DrawClecostorage5_zps35835644.jpg
 
Last edited:
So organised... But I have over 700!
I have a whole bunch more too, this is just what is in my toolbox and it is usually sufficient. I have another drawered cabinet in the airframe shop that has the same system in multiple drawers, there are probably over 1000 clecos in it if I need to use more clecos. You can fit a lot of clecos in an organized, efficient way like this and you can also label each divider card with your name and/or toolbox # if desired. They never get mixed up, they're portable, and you can see instantly how many are missing without having to count every cleco after every job.
 
Last edited:
Thanks for the complements. I try to use my creativity to solve some of the efficiency problems that I run into at work to make life easier on myself.
Lots of people don't know what clecos are or what they're for. I used to do volunteer airframe work at an aviation museum in Champaign, Ohio where escorted visitors could come in and watch us working. Lots of visitors would ask what those things sticking out of the airplane are. It was a very common question. I'd love to go back and do some more work there, but unfortunately, I just haven't had the time.
Anyhow, I hope this thread helps somebody somewhere.
 
Brings back memories of my metal structures class. Had my whole project put together by glecos at one point just to enjoy what it looked like even though I hadn't done a single rivet yet.:)
 
Redid a little bit of my Draw Cleco storage:
IMAG0432_1_zpsxcd1emoq.jpg


Bucked some countersink rivets to hold the extruded aluminum to the aluminum plate.
IMAG0433_1_zpsngepiky3.jpg


Here's what they look like in the drawer. I still have to make labels for them.
IMAG0434_1_zpsc26o7nfy.jpg


IMAG0435_1_zpsqepz8jcv.jpg
 
Back
Top