Nice shots dude.
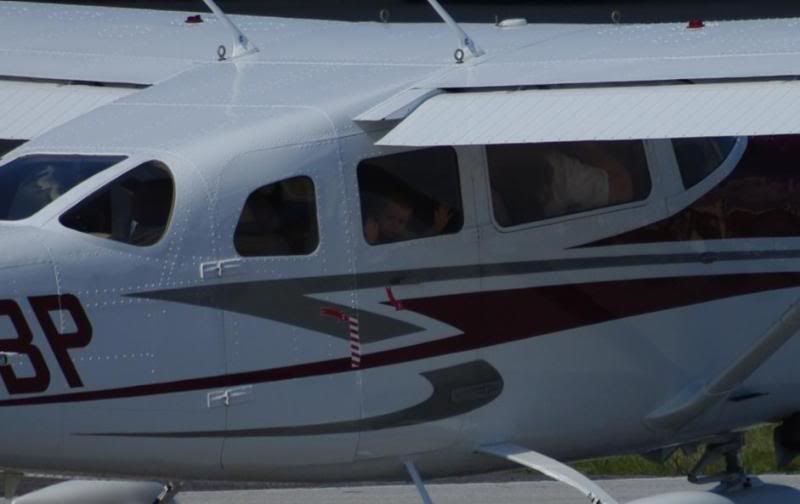
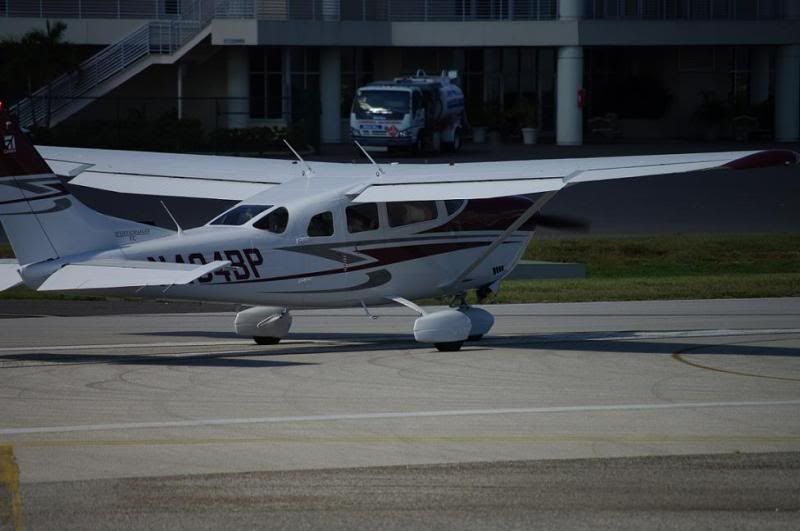
I peeked at your exif data and I notice you've been using the different auto and program modes for these shots. You may have found that you get a widely varying level of exposure if you shoot a burst of shots of the same (moving) object. The Stationair shot shows a hint of this. The first problem with auto modes is the camera's interpretation of white. You may notice the white is more of a gray. The reason for this is that the light meter is attempting to expose the whitest white in the frame as a color of 16%-18% gray. Additionally, it gets confused by the varying amounts of light reflecting off of different objects as you pan the camera, especially in a matrix metering mode, thus setting the incorrect aperture and/or shutter speeds for the actual subject of the photo.
The only workaround for this is to shoot entirely in manual. While it may seem extremely intimidating at first, once you understand what the camera is trying to do, versus what you need the camera to do, it'll be a breeze. With my first DSLR, I didn't really take the time to learn, but when I plopped down the money for my 50D, I challenged myself to learn and get the most out of it.
There are quite a few "quick and dirty" ways to figure out the proper settings. For outdoor shots, I typically just set my camera to spot metering and focus on to some grass. I set my aperture for the desired depth of field (f8 to f11 for aircraft photos) and then select the shutter speed that will center the light meter. It should be all set for at least a couple of hours unless the amount of light drastically changes (clouds to sun or vice versa).
Fred Miranda (one of the big names in the industry) has a nice article on his website about the topic and techniques
HERE.
Another, more "mathematical" trick is described
HERE.
Read up on interpreting a histogram as well. Sometimes the brightness of the screen on the back of the camera can give you false impressions of whether or not the image is exposed properly.
With the instant feedback you get from a DSLR, you lose nothing by taking a few minutes to set and check your manual settings. Choose your settings, fire a few test shots, review them on the screen, check the histogram and make minor adjustments if necessary. Your results will be consistent and your ratio of "keepers" will increase drastically.

")